
This post contains affiliate links. As an Amazon Associate I earn from qualifying purchases.
To start seeds indoors without weak, stretched seedlings, give them the right sowing date, clean containers, evenly moist seed-starting mix, and strong light as soon as they emerge. Most seedlings need 12–16 hours of light each day, followed by darkness. Winter is a good time to prepare the setup, but not every vegetable belongs in a January tray. Work backward from the crop’s local planting-out date and the seed packet, then start a batch you can keep under good light.
Quick answer:
Timing: follow the seed packet and local transplant calendar.
Light: 12–16 hours daily, then a dark period.
Depth: follow the packet; some seeds need light to germinate.
Water: keep the whole mix moist, not waterlogged, and drain excess.
Before planting out: gradually harden seedlings off over about two weeks.
What You’ll Need
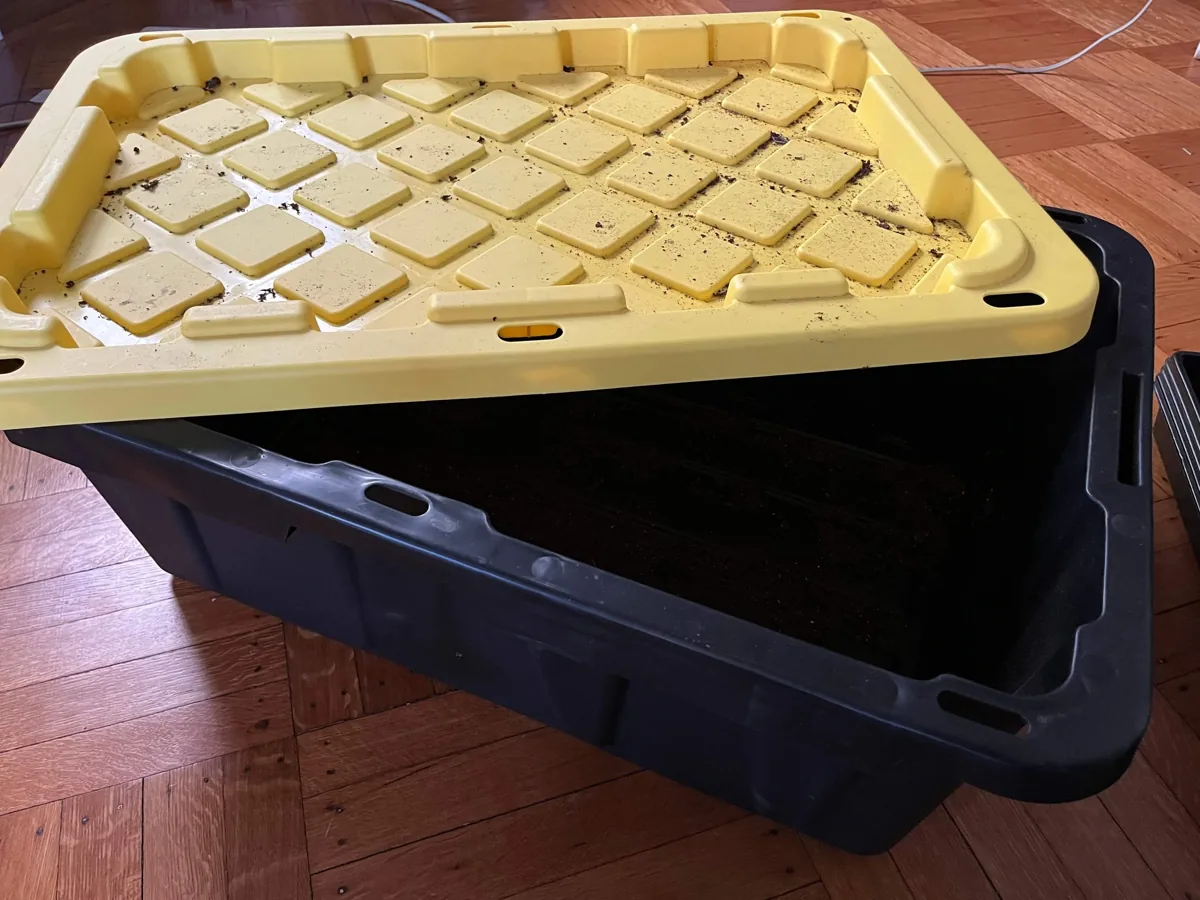
- A reusable seed-starting cell tray with drainage and a bottom tray: keep small root systems separate and catch water.
- LED growing lights: provide dependable light instead of asking a dim winter window to do all the work.
- A seedling heat mat with a thermostat: optional for crops that need warmer germination conditions; not every crop needs added heat.
- A soil thermometer: check the growing medium rather than guessing from the room temperature.
- Fresh seed-starting mix, seeds, labels, a waterproof marker, clean larger pots, and a gentle watering tool: prepare these before sowing. Read any treated-seed or equipment safety labels.
Build a Small, Practical Seed-Starting Setup
Start with the number of plants you can illuminate and pot on comfortably. These are similar supply options, not a claim that the featured gardeners use or endorse them.

- Adjustable Vents: The seed trays have adjustable vents that allow you to regulate the temperature and humidity of your seedling environment for total control over the growing process.
- Drainage Holes: The seed trays have drain holes at the bottom for proper drainage, reducing the risk of root rot and promoting healthy growth.
- Mini Greenhouse: The seed starter kit includes 10 trays and a humidity dome to create a mini greenhouse for starting seeds and fostering a healthy garden.
- Reusable and Portable: The seed trays are made of durable plastic and can be reused for multiple growing seasons. They are also lightweight and easy to transport.
- Complete Seed Starting Kit: The MIXC seed starter kit includes 10 trays, 10 watertight base trays, 10 humidity domes, and 10 plant labels for a complete seed starting solution.

- Luminous Output: Delivers an impressive 20000 lumens of full sun 6500K light, perfect for seeding, cloning, and vegetative growth stages.
- Efficient Design: 4-foot long fixture with 4 energy-efficient T5 bulbs provides uniform light coverage for indoor gardens and grow tents.
- Durable Construction: UL listed for safety, with a sturdy aluminum housing designed for long-lasting performance.
- Versatile Application: Ideal for various indoor plants including vegetables, herbs, flowers, and seedlings.
- Easy Installation: Equipped with hanging chains for convenient overhead mounting in grow rooms or tents.

- IDEAL GERMINATION TEMPERATURE: The BN-LINK seedling heat mats for seed starting can reach surface temperatures around 70°F to 85°F, providing gentle warmth for seed germination, cutting propagation, hydroponic growing and healthy seedling growth. Achieve faster germination and higher growth rates with seed heating mat.
- STABLE & UNIFORM HEATING: Using advanced far-infrared heating technology and reinforced heating film with dual insulation layers, this plant heat mat for seedlings delivers consistent, even warmth, raising root-zone temperatures approximately 10–20°F above ambient temperature without the risk of overheating or root scorching.
- DURABLE & WATERPROOF: This plant heating pad for indoor growing is made with flexible, multi-layer PVC that is wear-resistant and long-lasting. With an IP67 waterproof rating, the heating mat for plants resists splashes and sprays and can be safely cleaned by wiping.
- MULTIPLE APPLICATIONS: Simply place the seed warming mat under your seedling tray and plug seed starter heat mat into outlet—quick and easy to use. Ideal for seed starting, growing seedlings, plant propagation, and indoor gardening, it also works perfectly for home brewing, kombucha fermentation, and warming reptile or pet terrariums, meet all your daily needs.
- SAFETY & RELIABILITY: ETL Listed for quality assurance, this 10" x 20.75" heating pad for plants germination with a 5.9ft power cord fits standard 1020 seed starter trays and runs on just 20W. Rolls up easily, making these grow mats for seedlings simple to store when not in use. Backed by BN-LINK’s 12-month warranty for added peace of mind.


- Easy-to-read green, yellow, and red tick marks for easy monitoring
- 5-inch stainless steel stem penetrates soil and worm compost to the perfect depth.
- Worms are happiest between 55F and 90F. This thermometer lets you know when to cool them off or to move them to a warmer place
Start Seeds Indoors, Step by Step
Step 1: Choose a sowing date for each crop
Find the likely transplant date from local Extension guidance, then count backward using the seed packet’s indoor-starting instructions. Make a separate line for each crop rather than filling every tray on one weekend. University of Minnesota’s regional example starts onions and leeks in February, but peppers and eggplants in March. That illustrates the difference between crops; it is not a national calendar.
Step 2: Set up the growing space before you sow
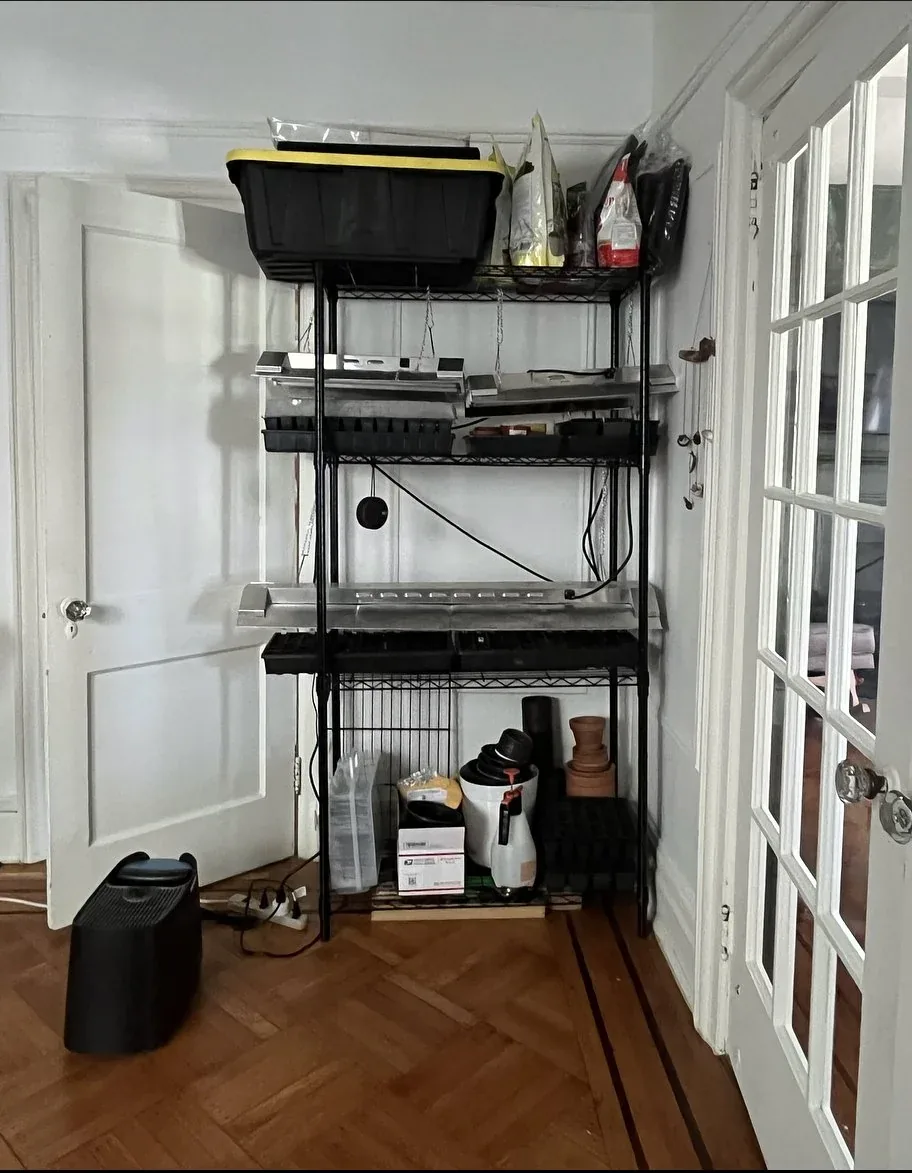
Choose a stable shelf or table near a suitable outlet, away from pets, cold drafts, and busy traffic. Make space for trays now and larger pots later. The creator’s rack shows how lights and trays can share a compact vertical footprint; it is not a requirement to copy the exact equipment. Keep electrical connections and cords away from spills, and follow the light manufacturer’s mounting instructions.
Step 3: Clean containers and moisten the mix
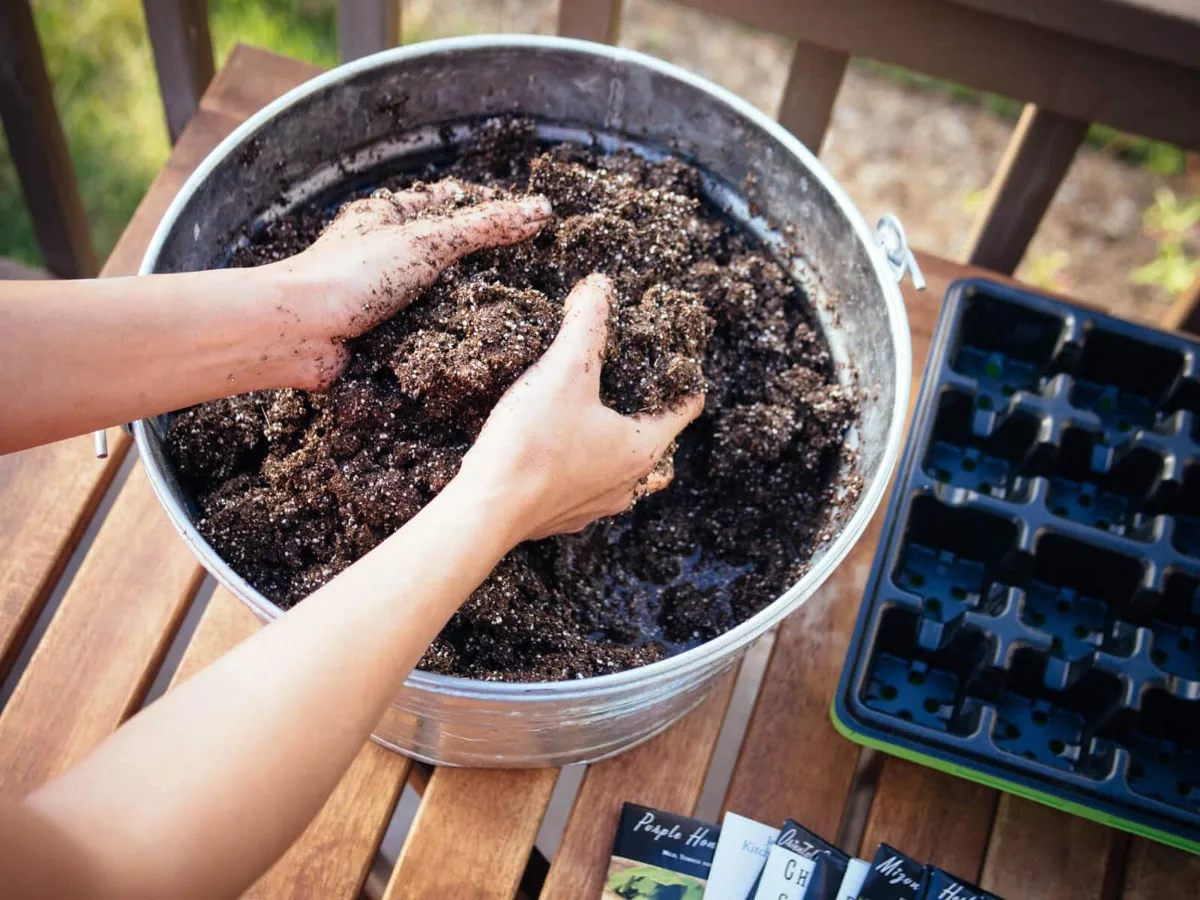
All containers need drainage holes. Wash off old debris, then disinfect reused containers using a product and dilution approved for the surface, following its label and rinsing as directed. Use fresh commercial seed-starting mix rather than scooping garden soil into small cells. Moisten the mix evenly before filling: it should hold moisture through the container without becoming a puddle. Do not compress it into a hard plug.
Step 4: Sow at the packet depth and label immediately
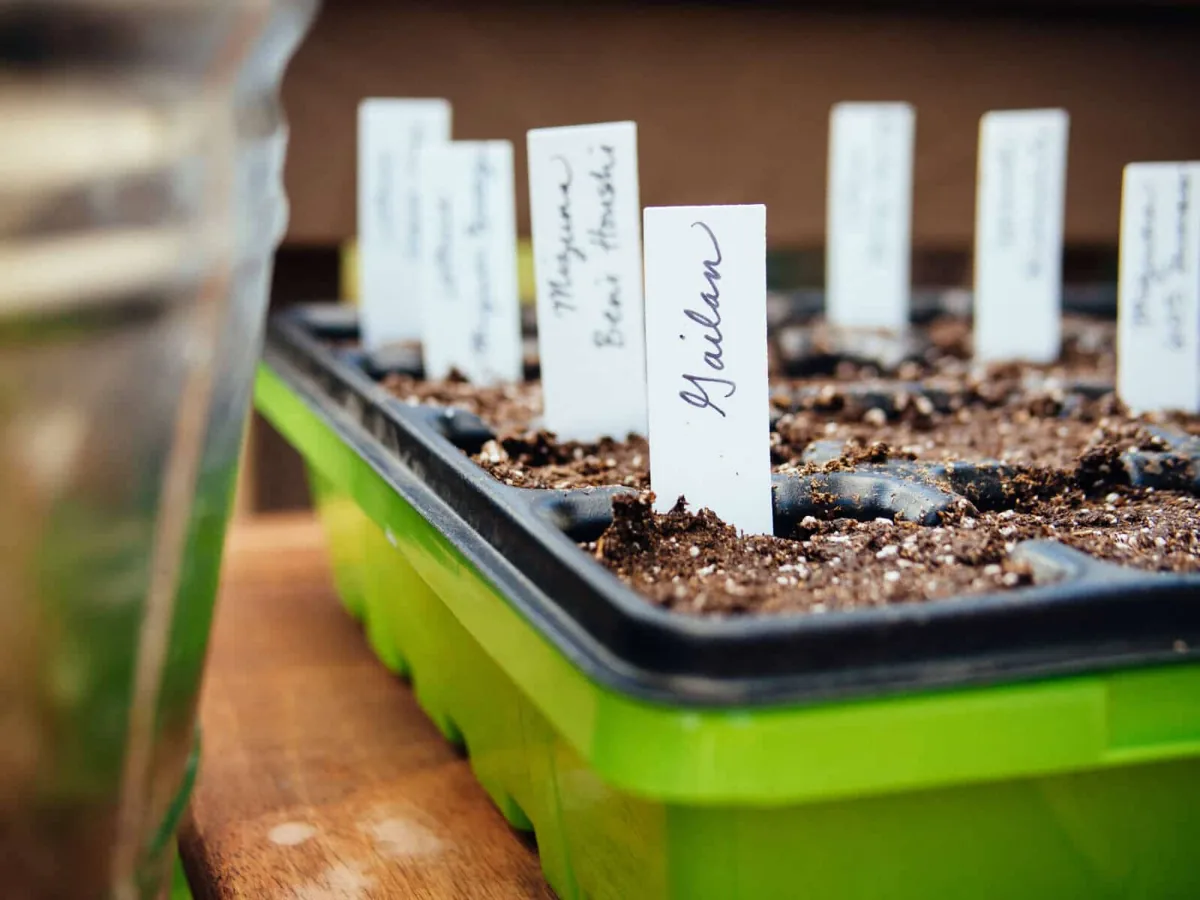
Fill the cells and sow according to the packet, especially for tiny seeds that need light. If no instructions are available, a general rule is about twice the seed’s width deep, but do not use that rule to override a species-specific light requirement. Write the crop, variety, and sowing date on a label before putting the packet away. A tray map is useful backup, not a replacement for a label that stays with the plants.
Step 5: Give germinating seeds the conditions they need
Use the packet’s germination temperature as the target. The growing medium can be cooler than room air, so check the actual tray rather than assuming a warm room is enough. If you use a horticultural heat mat, control it appropriately and keep it separate from the light timer. A humidity dome limits moisture loss during germination; ventilate as growth appears and remove it before seedlings press against the lid.
Step 6: Adjust the light as seedlings grow
Run suitable lights for 12–16 hours daily and provide darkness each night. For ordinary fluorescent seed-starting fixtures, UMN describes keeping them roughly 2–4 inches above the plants; powerful LEDs may need a different distance, so follow the fixture guidance rather than applying one measurement to every lamp. Raise the light as the canopy grows. Uneven, leaning seedlings are a reason to reassess the setup, not to add more fertilizer.
Step 7: Water through the root zone, then thin and feed
Check the mix below its surface; a quick mist can wet the top while leaving the cells dry underneath. Water gently or bottom-water, then drain remaining water rather than letting roots stand in it. After true leaves develop, snip unwanted seedlings at soil level instead of pulling at neighboring roots. UMN recommends waiting for several sets of true leaves before weak feeding; follow the fertilizer label and avoid feeding dry or stressed plants.
Step 8: Pot on before roots run out of room
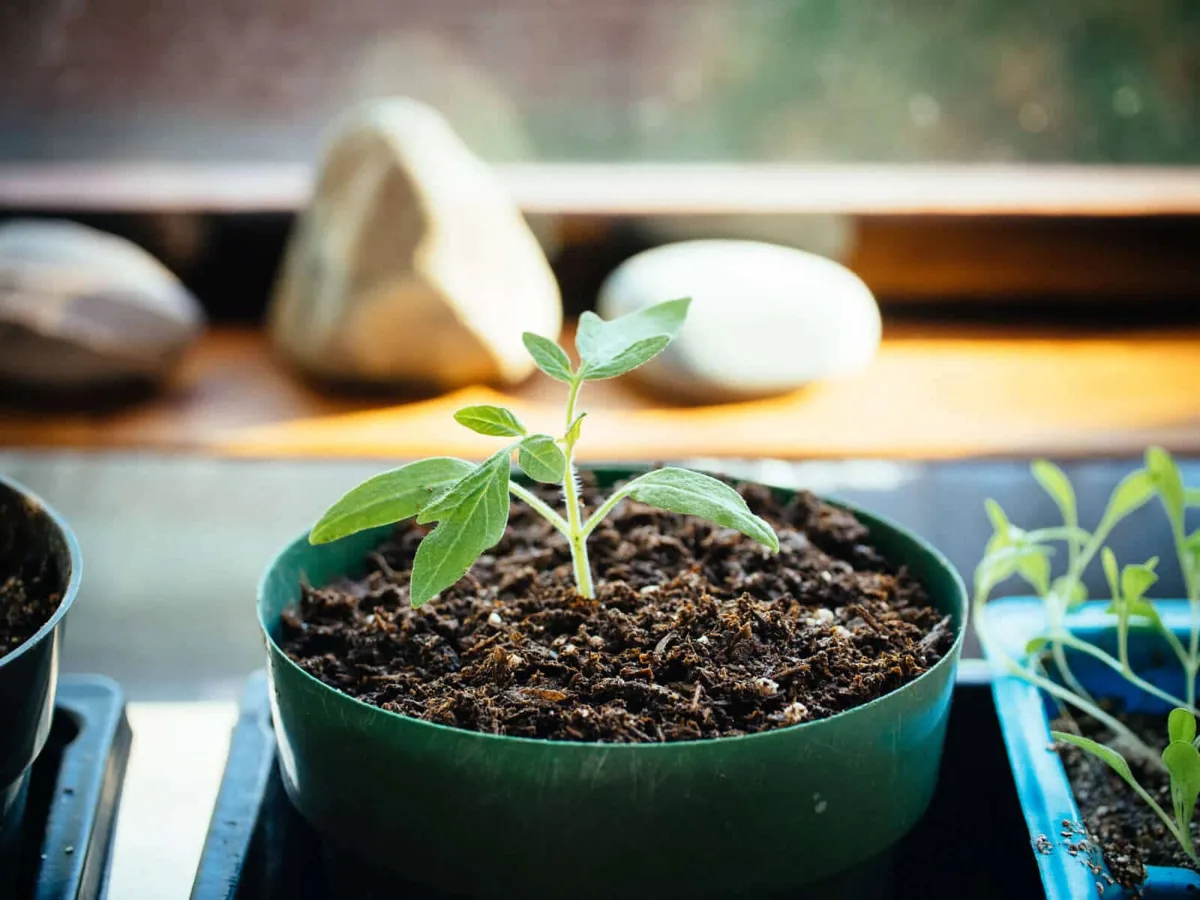
When seedlings outgrow their cells, move them into clean containers about 1–2 inches wider, with drainage. Support the rootball with a spoon or plant tag rather than lifting the plant by its stem. If you need to steady it from above, hold a leaf gently. The photograph shows a young plant already in a larger pot; it illustrates the next growing stage, not a hidden view of its roots. Return plants to suitable light after the move.
Step 9: Harden off before planting outdoors
Begin about two weeks before the intended planting date, once conditions are suitable for the crop. Start with a few protected hours outside in shade, bring plants back before temperatures fall, and gradually increase exposure to sun and wind. Frost-tender crops still need frost-free, sufficiently warm conditions; hardening off does not make them freeze-proof. Delay transplanting when the forecast or soil conditions are wrong, even if a printed calendar says it is time.
A Simple Seedling-Care Check
| Stage | Look for | What to do |
|---|---|---|
| Before germination | Even moisture and appropriate temperature | Check the packet; avoid drying or saturation |
| After emergence | Short, upright growth | Provide suitable light and ventilation |
| Several sets of true leaves | Healthy roots and steady growth | Thin, feed cautiously, and pot on when needed |
| Before transplanting | Plants accustomed to outdoor conditions | Harden off gradually and watch the forecast |
Troubleshooting Without Making Things Worse
- Long, thin, leaning stems → Improve light placement and duration before adding feed. A warmer but still dim tray can make the problem worse.
- Collapsed seedlings at the soil line → Suspect damping-off rather than simple thirst. Remove affected plants, improve hygiene and moisture management, and do not keep rescuing a persistently contaminated tray.
- Dry cells despite daily misting → Check the full depth of the mix. Water enough to moisten the root zone and drain excess, rather than wetting only the surface.
- Roots filling a small cell while planting weather is still poor → Pot on under lights instead of leaving the plant cramped or rushing it outdoors.
- No germination → Compare elapsed time, sowing depth, light requirements, seed age, and medium temperature with the packet. More water is not a universal fix.
Good to know: Keep fertilizer, disinfectants, treated seeds, and electrical equipment away from pets and children. Never mix cleaning chemicals, and never use a household heating pad as a substitute for equipment intended for seed germination.
FAQ
Can I start seeds on a windowsill without grow lights?
A roomy, bright south-facing window may work for a small number of plants, but winter windows can be dim, cold at night, and hot in direct sun. Watch the seedlings rather than the room’s brightness to your eyes. Stretched stems, persistent leaning, and slow weak growth mean the light arrangement needs attention. Artificial lights make a compact setup easier to control.
Do all seeds need a heat mat?
No. Germination temperatures vary, and a warm room may already suit some crops. A mat is most useful when the medium is too cool for the seed you are sowing. Check the packet, measure the medium, and use a thermostat where appropriate. Do not leave a tray on unnecessary heat simply because the equipment is available.
When should I remove the humidity dome?
Watch for emergence and give seedlings fresh air rather than treating the dome as a permanent greenhouse. Remove it before plants press against it, and check moisture after removal because the mix may dry faster. If seedlings within one tray germinate at very different times, grouping similar crops or moving emerged pots can make humidity management easier.
Is January too early to start vegetable seeds indoors?
For many crops in cold climates, yes; for some long-lead crops or warmer regions, it may be reasonable. There is no single January list that fits every garden. Work from the crop’s planting-out date, packet instructions, and the space available for growing on. Healthy younger transplants are preferable to an oversized batch waiting in poor conditions.
For the light, watering, container, potting-on, and hardening-off guidance used here, see University of Minnesota Extension’s seed-starting guide. Use local crop calendars and the packet to adapt that framework to your own garden.
Start with a small batch and check it every day. The goal is sturdy plants ready for the right outdoor moment, not the earliest possible sowing date.
Featured photo: 📷 Jaclyn Salem.